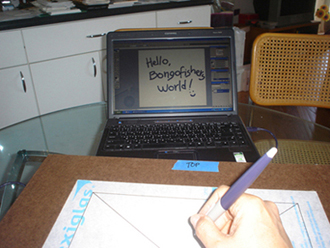
Concept:
Last year (2007), I built my electronic canvas, with stripped Samsung 15" monitor placed inside ready-made Ampersand Hardbord canvas. Then put them on the easel (as in the photo above). I also bought Wacom Graphire4 Tablet, and my first paint program, Corel's PainterX, to use with the easel. I found that this is not really an easy way to paint, compare to the traditional way of canvas painting on the easel. Because I have to look down to the tablet, then look up to the monitor just to position the screen cursor to paint.
Upon registered the PainterX software, I received a free instructional DVD, 'natural media painting' by Jeremy Sutton. I watched Jeremy used Wacom Cintiq to demonstrate his way of painting with PainterX program. I realized that this is it, this is the right way to draw or paint, just draw or paint directly onto the screen. But I could not afford one, at the moment.
Then I came across Drew's DIY Cintiq.
I planned to build my own Cintiq. It took a while to gather the items necessary for the build, most of which I got from ebay, Wacom Intuos2 9x12 Tablet, Dell 1503fp Monitor, etc. I spent a lot of times researching and studying those who built their DIY Cintiq, just to make sure that I know enough to build one without any mistake.
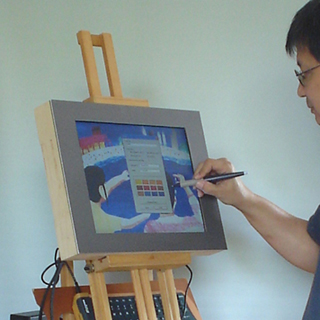
What I want to acheive is to build a next version of electronic canvas, that I can draw or paint directly onto the screen which I am calling it CanvasTIQ!
Build
The build intially started on September 21, 2008. And following are the day by day building log.
Sept 21: Stripped the LCD
Here is my Dell 1503fp.
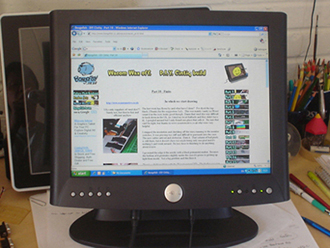
Stripped the monitor to see what kind of FFC cable to be used.
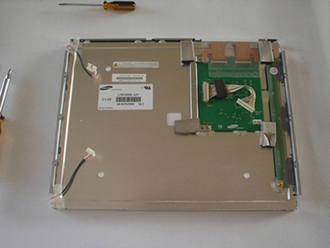
It's REV 00, Samsung LCD. So I need two FFCs 40-pin, 0.5 mm pitch, from diy-beamer.
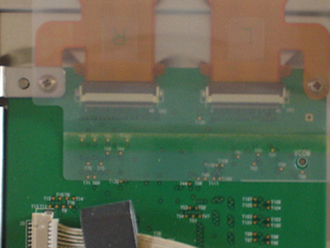
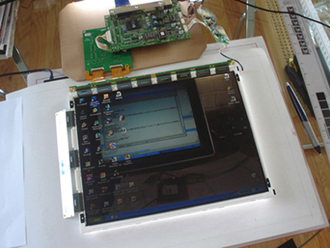
After I tested the LCD screen on top of the Tablet, I noticed the jitter on the top left corner of the LCD. But I was not worried about the jitter for now. The problem could be solved with shielding later.
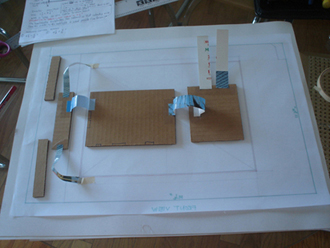
I measured all the PCB, inverter, mainboard, and screen driver board, the length
of all the wires.
main board = 6-1/2" x 6-1/2", inverter board = 1-3/16" x 4-3/4", screen driver
board = 3-3/4" x 4-1/2". And then I cut the cardboard to sizes and use these
cardboards to layout the parts instead of using the real boards.
Sept 22: Stripped the Tablet
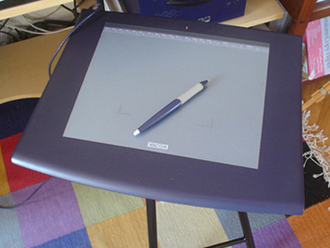
Here is my Wacom Intuos2 9" x 12".
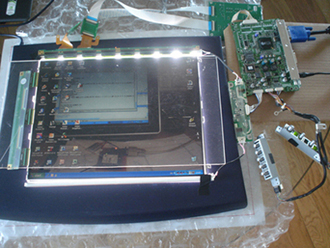
I tested the stripped LCD with the tablet.
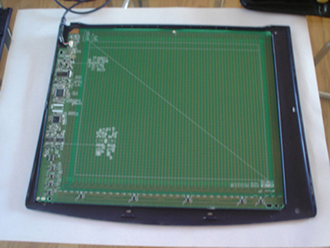
The stripped tablet.
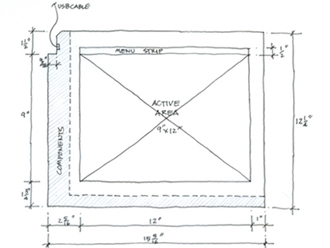
Again, I measured all the dimension of the tablet. So I can map the active area of the tablet with the LCD screen. And I put the stripped monitor in the safe place, for now
Sept 24: The Canvas
Here is the 16" x 20" ready-made Ampersand hardbord canvas.
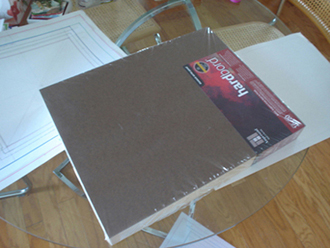
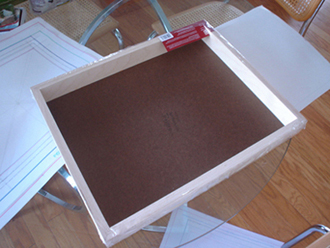
This canvas has 2" thick frame, that make it suitable to use for this project.
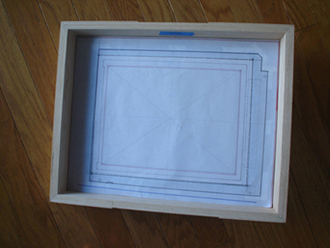
The overlay were placed inside the canvas.
Sept 25: The Canvas (cont.)
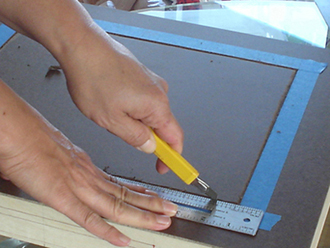
I marked the canvas with the blue painter tape, ready to cut the hole (11" x 14").
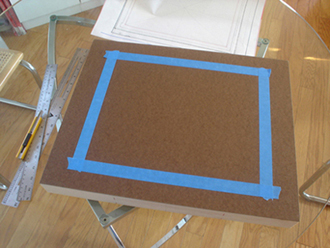
It was really easy to score through the board, only 3mm(1/8") thick, using the small cutter. (Be careful, when working with the sharp object! This thing is really, really sharp.)
Here is the finish.
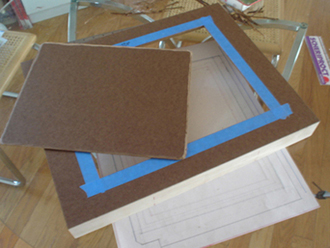
I installed the 3mm(1/8") thick, 11" x 14" non-glare plexiglas to fit into the openning area.
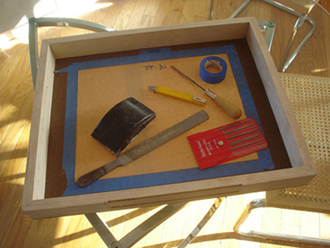
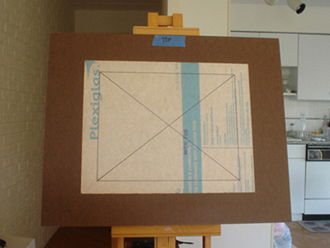
Front view of the canvas with the plexiglas installed.
I filled up the gap between the the hardbord canvas and the plexiglas.
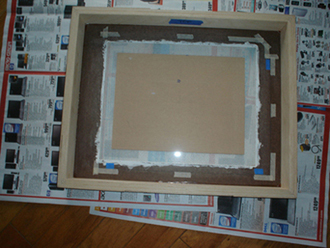
Sept 26: The Canvas (cont.)
I painted one inch border around the 9" x 12" active area over the plexiglas.
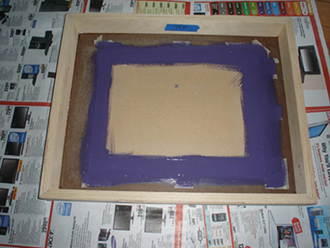
Here is how it look from the front.
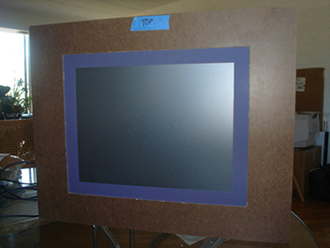
Sept 27: The Canvas + The LCD
Aligned the LCD to the openning of the canvas.
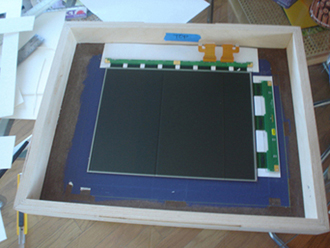
All the LCD parts were temporary put in place.
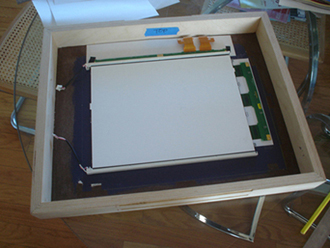
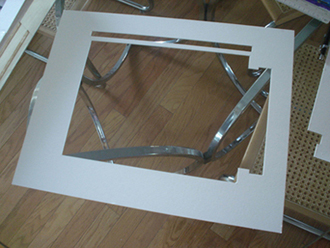
I used the left-over matboard, which have the same thickness as the LCD glass to construct a temporary frame around the LCD glass panel.
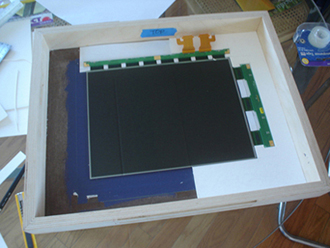
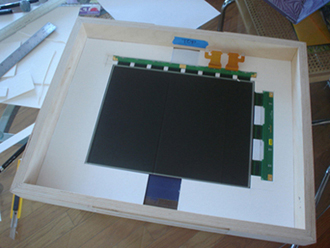
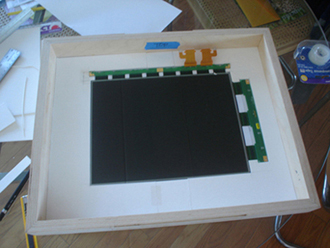
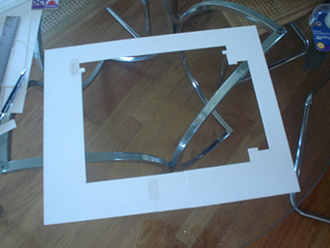
And used the temporary frame to construct the final piece.
Sept 28: The Canvas + The LCD (cont.)
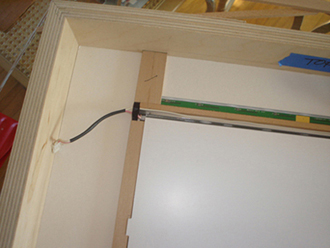
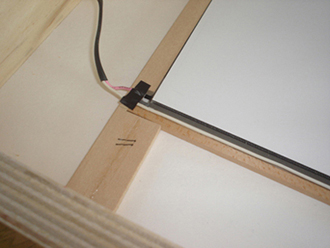
I measured the backlight diffuser acrylic sheet and the three plastic layers of the LCD. It is about 5/16" thick. So, I use 1/2" x 5/16" basswood (that uses by the architectural model builder) to build the frame.
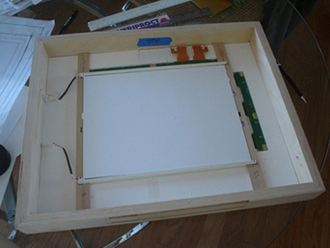
I did not like the backlight covers, which were extended higher than the LCD frames.
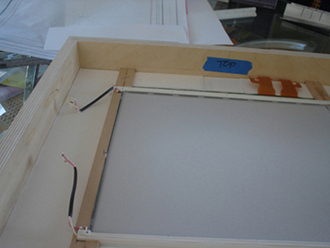
So, I decide to remove the backlight covers.
Sept 29: The Canvas + The LCD + The Tablet
Put the tablet on top of the LCD.
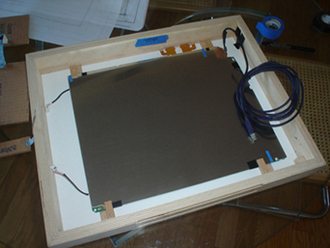
Cut a plexiglas to size and laid on top of the tablet.
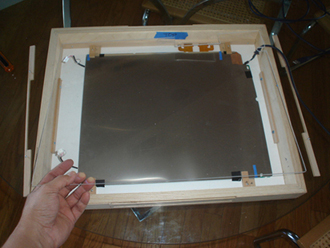
Built a platform for all the PCB with a piece of plexiglas.
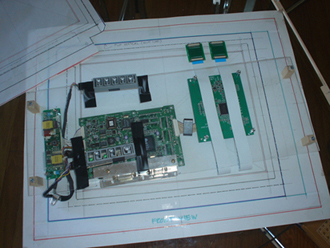
Then secured the platform with a piece of 1/2" x 5/16" wood frame.
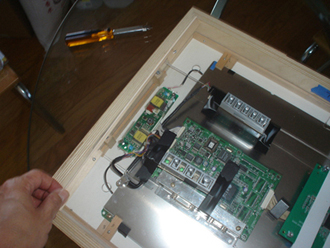
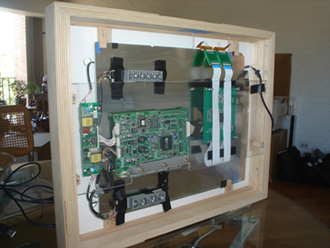
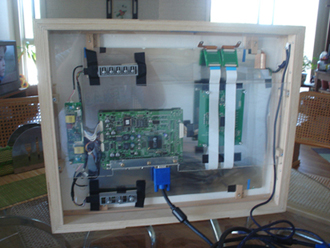
Oct 1: The CanvasTIQ
Testing the tablet alone, the LCD was not turn on.
