What is Tagtool?
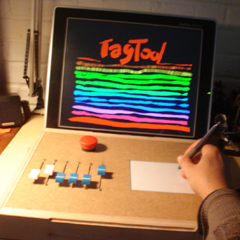
Tagtool is an interactive digital painting and animation instrument for live presentation or performance. Artist draws/paints then hands the image to Animator, so Animator would put the image to life by moves, rotates, and enlarges them interactively in real-time. More details about Tagtool can be found at www.Tagtool.org. Tagtool development is coordinated by OMA International (Office for media and Arts international) in Vienna, Austria
Tagtool is also an open source on both hardware (TagTool) and software (Nodekit), that means anyone can build a Tagtool instrument by using the design provided or use their own design. And the Nodekit can be downloaded freely to use with the Tagtool instrument.
TagTool Thumb(NaNo)
Why TagTool Thumb(Nano)?
After my first Mini TagTool (12x15x3"), and Suitcase TagTool (20x25x4") are done, I realized that, I had spend a lot of money on building these TagTools, almost $100 on each TagTool, $25 on Arduino, ~$40 on 100mm Sliders, ~$30 on Allen Bradley Push Button (the signature red button of TagTool). These two TagTool are intentionally built for the studio uses, because their size is not quite suitable to bring them to use them outside with the Laptop configuring with Nodekit software. For these reasons make me thing of designing the portable TagTool that you can holding it with one hand while you draw with the other. And more affordable, let's say $25 - $40 to build it. As well as maintaining the signature of the original TagTool "Red Pushbutton".
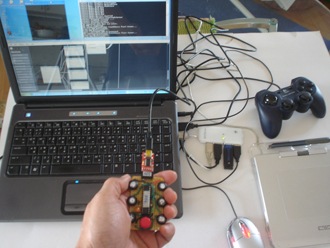
After a thorough research, I found that I could cut down the cost by using the thumbwheel type poetentiometers ($1.75 each). And instead of using Arduino Board, I could use the Arduino Clone which I'm familiar with, such as, Boarduino, (I used this board on my first Mini TagTool). But I just want to give myself a challenge, and make it fun and increase my learning experience. So, I decided to built my own strip down version of Arduino with the same ATmega328 Microcontroller as the Arduino.
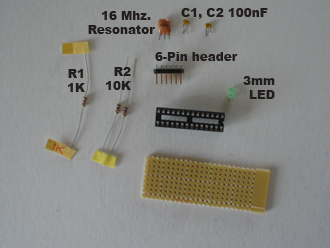
Here are the parts for my Minimal Arduino. The parts in this picture were taken from my other experimental board, notice the component legs are shorter that usual. (The ATmega328 Microcontroller was not in the picture.)
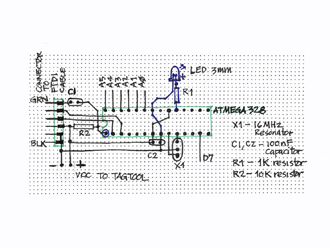
I used the similar method that Alex's used on his clone (tinkerlog). I also used the Boarduino schematic as the reference. Here is my minimal Arduino schematic.
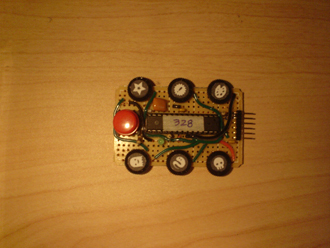
 I am going to skip the wiring and soldering processses. And presenting to you the "First Smallest TagTool".
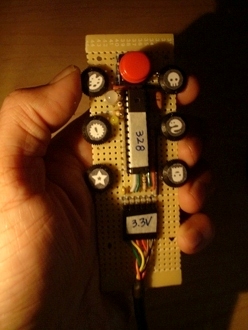
It measured a little over 2-1/5" long(as in the picture), and 1-15/16" wide. And best of all, there is a "Red Button" on it.

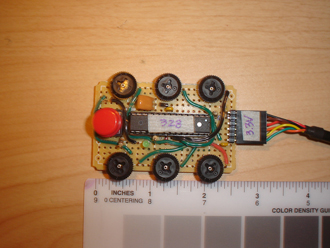
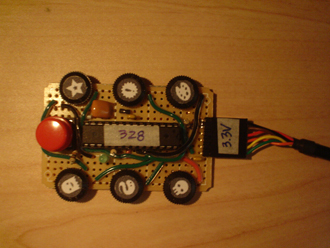
This is the TagTool Thumb(NaNO) connected to the FDTI cable. And I attached Jayne's TagTool icons on to the TagTool Thumb(NaNO). It's fitted perfectly well with my TagTool Thumb(NaNO). Thanks, Jayne!
Testing
I am not going into the details of the procedure to upload the bootloader onto the ATmega328. Go to the Arduino Link to learn more about the bootloader. I could buy the pre-loaded bootloader ATmega328, which will cost me a couple dollar more than the blank Microcontroller. I chose to use the programmer called 'USBTinyISP' that I already have, to program the bootloader in Arduino IDE.
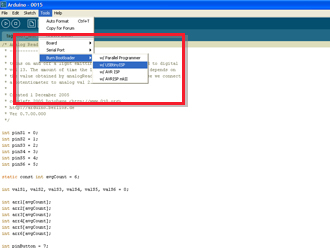
Before I upload the TagTool sketch to my TagTool Thumb(NaNO) I change the FTDI cable to the one I obtained from Sparkfun, I like this one since it has the RX and TX LED blinking while it's uploading the sketch. I tried uploading a few sketches from the examples directory, i.e. blink, and ASCIITable in Communication folder and it worked fine. So, I'm quite certain that my TagTool Thumb(NaNO) would worked!
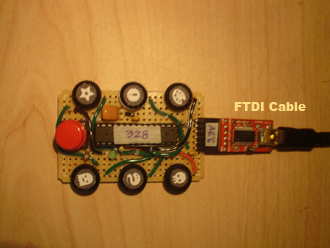
AND IT WORKED!!!!!
Result