Edgelit Autopsy
I picked up a couple of edge-lit displays for a very reasonable price on Ebay (from Guy Marsden no less: http://www.arttec.net/). I've tried making some homemade edgelit displays ( http://users.rcn.com/ted.johnson/Scratchitti.htm ), so I was curious to see how commercial ones worked. Phillip Pulle has made his own effort at edge-lit displays, e.g. http://img61.imageshack.us/my.php?image=10004536sb.jpg).
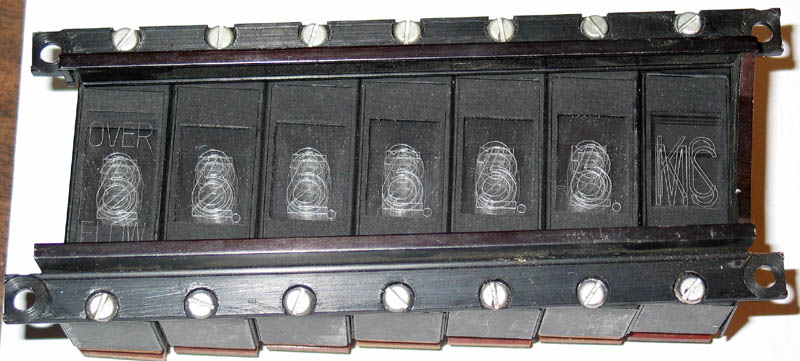
This is the first display to be autopsied, in its full rack. I chose the rightmost one to open up because its not likely that I'd use the symbols on it.
I removed the rightmost display, and (gently) cracked it open. I got the following from a full disassembly:
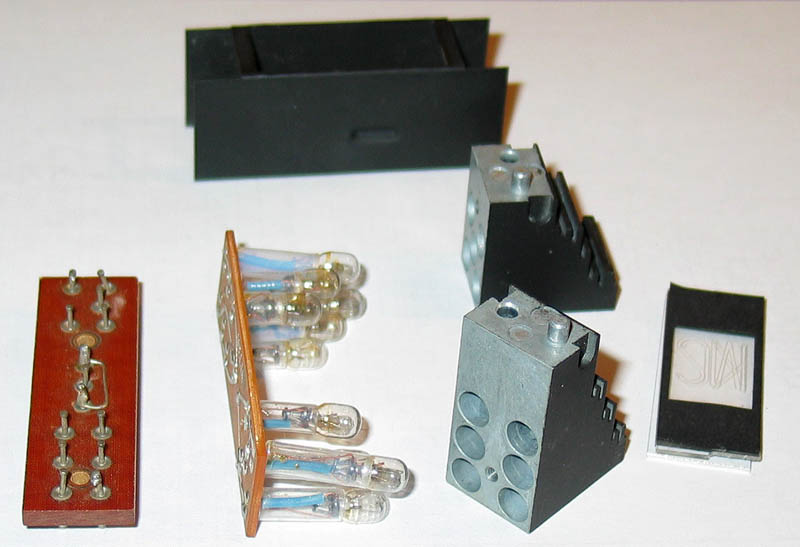
The display case is at top, it snaps onto the dimple on the two machined
aluminum blocks. The aluminum blocks friction-fit together with the
plug/socket. The external connector is at left, on the other side are
spring-loaded pins which connect to the PCB with the actual lamps. The
lamps in turn fit into the holes on the back side of the aluminum blocks.
The front of the aluminum blocks have slots into which the tiles (on the right)
fit. Note that the lamps near the ends have the longest leads. The
holes are drilled so that they intersect the slots, and the leads on the lamps
are adjusted so that the bulb (and probably the filament) is just under the
slot. Below is a picture of the slots lit up by a flashlight:
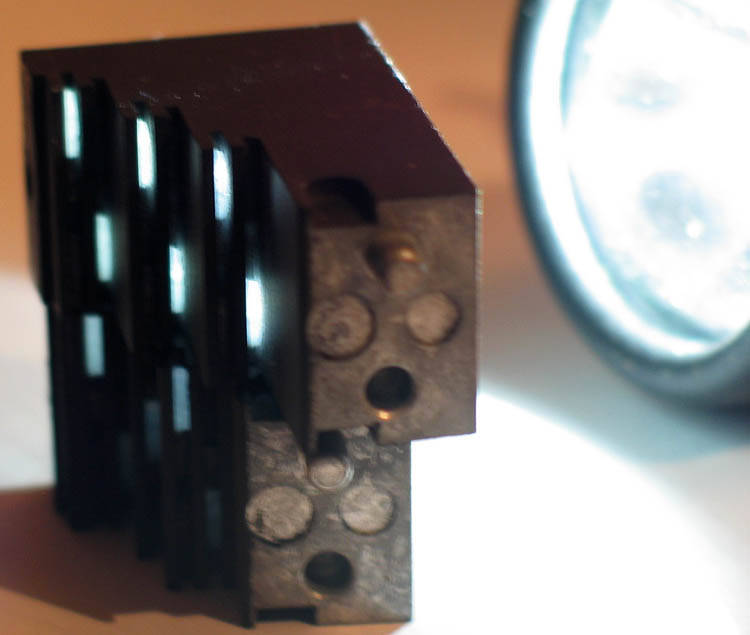
The grooves in the aluminum are machined a little deeper where the light shafts are. Correspondingly, the tiles (which are etched plexiglass) have slots which fit into these grooves, with a tab where the light shaft is:

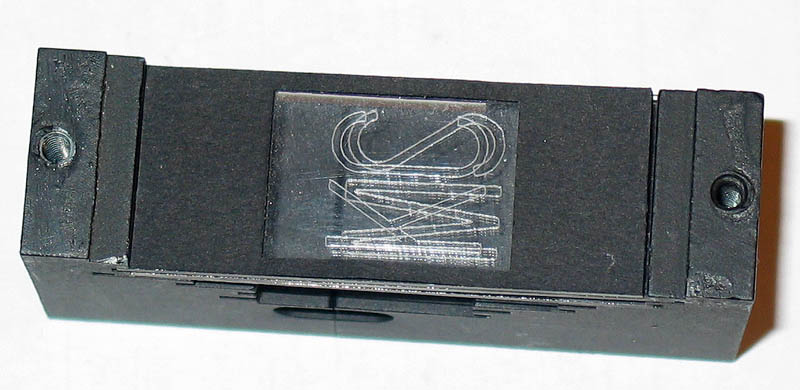
The tiles are etched on the back rather than the front; I also found that this better scatters the light to the viewer. The tiles have thin pieces of black felt glued to them to blank out the light sources. There is no reflective paint on these tiles, and their holder is not reflective. I think that this display is not especially light-efficient -- the lamps are rated at 28 v. It wasn't hard to put the display back together, as you can see below. Its just a matter of fitting the blocks together loosely, inserting the tiles, then pressing.
Next is one of the displays from the second set. Here is a picture from the front
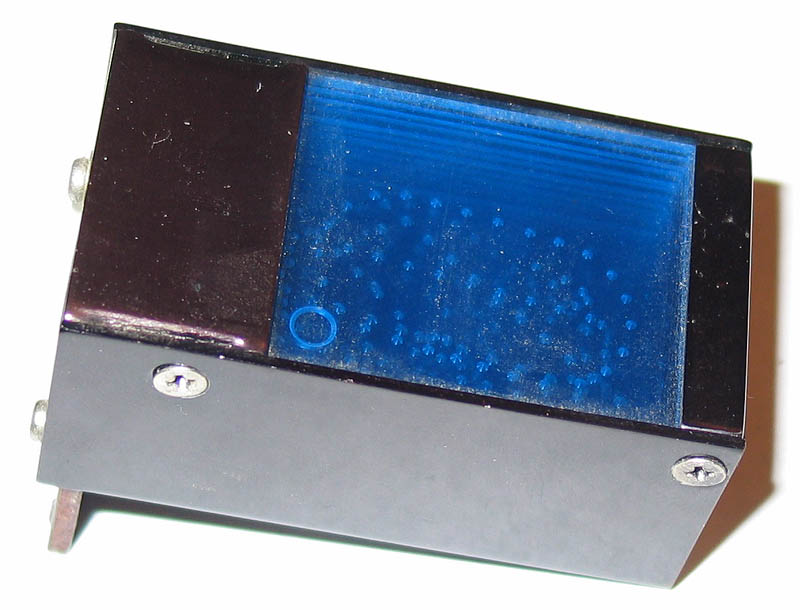
And from the back
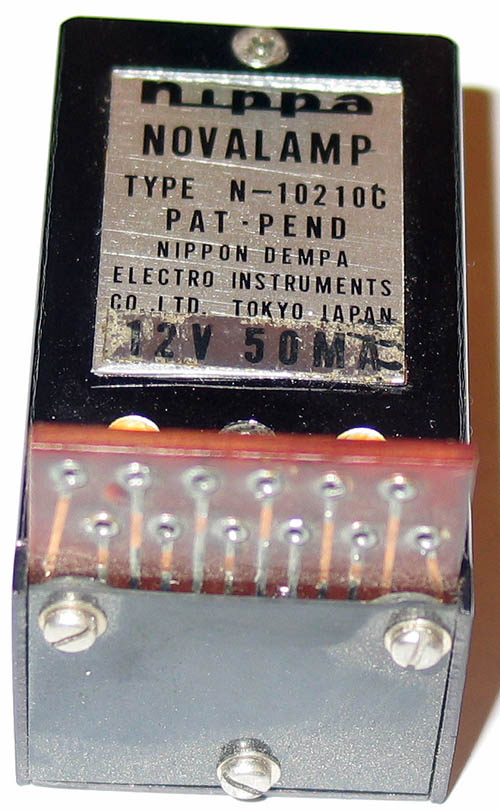
After I remove the bottom plate, we can see the lamps and the light slots to the tiles:
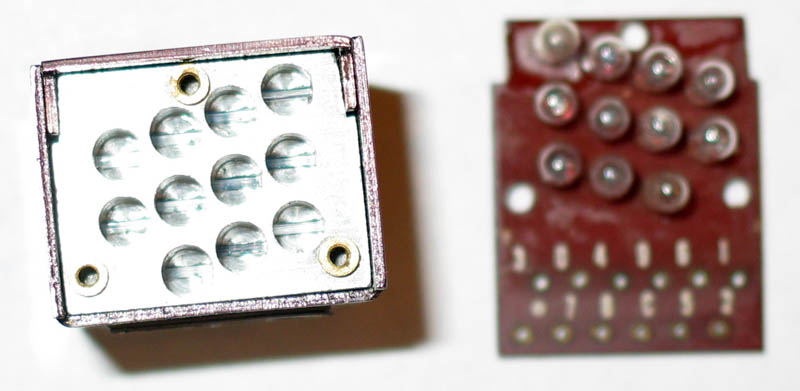
These lamps are much smaller than in the other edge-lit display. I can probably replace them with 3mm LEDs. Perhaps a different color for each different tile. When I take this display apart, I get the pieces below:

At the left is the bottom piece, you can see the slots where the lamps shine through. At the top right is the top piece. Its a slab of aluminum painted black, with slots for the tiles. At the bottom left is a color tile, it fits into the front (to the far left on the bottom piece). I've pulled out a couple of the tiles; the decimal point, which is etched, and the zero, which consists of dimples in the plexiglass. These digit tiles are inscribed all over the space of the display, presumably to reduce the overlap of digits. The other edge-lit display didn't seem to use this technique. Both the etching and the dimples are on the back of the plexiglass. The edges of the tiles (except for the bottom) are coated with a silver ink, though not all that thick. I think the same result can be achieved using a silver ink pen.
I had a difficult time putting this one back together. Eventually I put both end pieces on their edge, braced them, then dropped the tiles through the slots. Then I very carefully worked the enclosure around the assembly, and attached the screws. I don't plan to do that again, though I am thinking about removing the blue gel tiles (only the black plastic bottom cover, seen at lower left, holds them in).